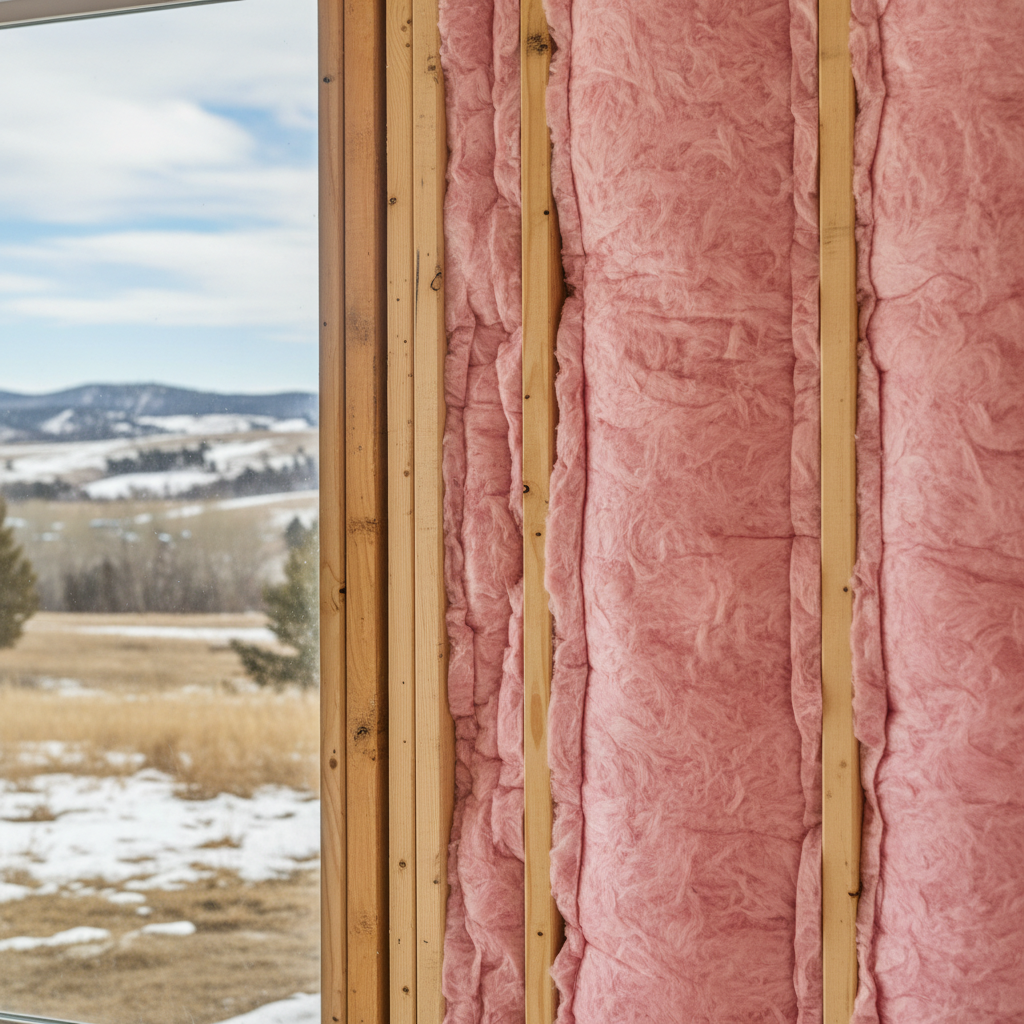
So, you're eyeing your attic or maybe that unfinished basement wall and thinking about tackling some insulation yourself, huh? Batt insulation is usually the first thing folks consider for a DIY job, and honestly, for good reason. It's easy to find, seems pretty straightforward, and can definitely save you some cash on labor if you do it right. But "doing it right" is really the key, especially here in Box Elder where our winters can be brutal and our summers, well, surprisingly hot. A batt that's not put in correctly isn't just inefficient; it's a total waste of your time and money.
Before You Start: Planning and Prep
Before you even think about buying a single roll of insulation, you've got some homework to do. This isn't one of those projects you can just jump into, believe me.
- Know Your R-Value: First off, figure out what R-value you actually need. This number tells you how well something resists heat. For attics in our climate zone (that's Zone 6, by the way), the Department of Energy suggests R-49 to R-60. Walls are typically R-13 to R-21, depending on how deep your studs are. Don't guess on this; it's super important for keeping your energy bills down.
- Measure Twice, Buy Once: Get really accurate measurements of the space you're insulating. Measure the length and width, and don't forget to account for how far apart your joists or studs are. Most batts are made for framing that's 16-inch or 24-inch on-center. And remember to factor in some extra for cuts – you'll always have some waste.
- Safety First, Always: This isn't optional, folks. You'll need a good respirator (an N95 or better, not just a flimsy dust mask), eye protection, gloves, long sleeves, and pants. Fiberglass fibers are irritating, and you absolutely do not want them in your lungs or on your skin. Trust me on this one.
- Clear the Area: If you're heading into an attic, make sure it's clean. Pull out any old, damaged insulation if it's beyond saving, but be aware that removing old stuff can kick up a lot of dust and potential hazards. Especially if it's really old and might contain asbestos (though less common with fiberglass batts, it's something to think about if you're dealing with very old materials). And seal any air leaks *before* you insulate; insulation won't stop air from moving around. Look for gaps around light fixtures, plumbing pipes, and electrical wires. A can of spray foam or some caulk can make a huge difference, honestly.
- Ventilation Check: In attics especially, make sure your soffit and ridge vents aren't blocked. You need good airflow to prevent moisture buildup and those nasty ice dams. If you're insulating an attic, you'll probably need baffles to keep the insulation from blocking those soffit vents.
During Installation: The Nitty-Gritty
Okay, you've got your gear, your materials, and your plan. Now for the actual work. This is where most DIYers either really shine or really mess things up.
- No Gaps, No Compression: This is the golden rule for batt insulation. You want the batts to fit snugly between the studs or joists, filling the whole space completely without being squished. If you compress it, you actually lower its R-value. Imagine trying to stay warm with a squished sleeping bag – it just doesn't work as well, right?
- Cutting is Key: Use a sharp utility knife and a straight edge. Cut batts just a little bit wider than the cavity they're going into so they fit tightly by friction. For cutting around electrical boxes or pipes, cut the batt to fit precisely around the obstruction, or split the batt and go around it, making sure it's still full and fluffy. Don't just cram it in there, please.
- Vapor Barrier (or Not): In our climate, a vapor barrier usually goes on the warm-in-winter side of the insulation. For us, that's the inside of the wall or ceiling. Many batts come with a paper or foil facing that acts as a vapor retarder. Make sure that facing is against the conditioned space. If you're adding a second layer in an attic over existing unfaced batts, don't add another faced batt; you could create a double vapor barrier which can trap moisture.
- Attic Installation: If you're insulating an attic, start at the edges and work your way towards the access hatch. Lay batts perpendicular to the joists for the top layer if you're doing two layers, or between the joists if it's the first layer. Just make sure you don't cover recessed light fixtures unless they are IC-rated (that means insulation contact rated). If they're not, you need to build a box around them to keep enough clearance.
After the Job: What to Look For
You've put in the work, now give it a quick once-over.
- Check for Completeness: Did you miss any spots? Are there any visible gaps? Go back and fill them in, for goodness sake.
- Clean Up: Gather all your scraps and get rid of them properly.
- Feel the Difference: Over the next few days and weeks, you should notice a change in how your home feels. Fewer drafts, more consistent temperatures, and hopefully, lower energy bills.
DIY vs. Calling a Pro: When to Know Your Limits
Look, I'm a contractor at Majestic Insulation Company, and I'm all for homeowners doing what they can. It's satisfying, and it saves money, no doubt. But there are definitely times when you should just call in the pros.
- Large, Complex Jobs: If you're insulating an entire house during a big renovation, or dealing with cathedral ceilings, or areas with a lot of obstructions, things can get tricky fast.
- Crawl Spaces and Tight Attics: Some spaces just aren't made for comfortable DIY work. If you're claustrophobic, or the space is super tight, it's just not worth the risk or the frustration.
- Moisture Issues: If you've got existing mold or serious moisture problems, insulation isn't your first step. You need to fix the underlying issue first, and that often means calling in professional help.
- Specialized Insulation: While we're talking batts here, if you're thinking about spray foam or blown-in cellulose, those are absolutely jobs for experienced professionals with the right equipment.
- Time is Money: If you don't have a lot of free time, or you're not confident you can do a thorough job, hiring a professional will make sure it's done right the first time. Often, it's faster, and you get better long-term results. We've seen plenty of homes in the Black Hawk area where a DIY job ended up costing more to fix than if they'd just hired us from the start.
Ultimately, insulating with batts can be a really rewarding DIY project if you're careful, thorough, and respect the process. Just know when to roll up your sleeves and when to pick up the phone.