So, you're thinking about closed-cell spray foam for your place? Good call. It's truly one of the top insulation materials out there, especially for us here in Box Elder. We get those wild temperature swings, and let's be honest, those winters can be brutal. But before you jump in, there are a few things you really should get your head around.
Before You Even Think About Spraying
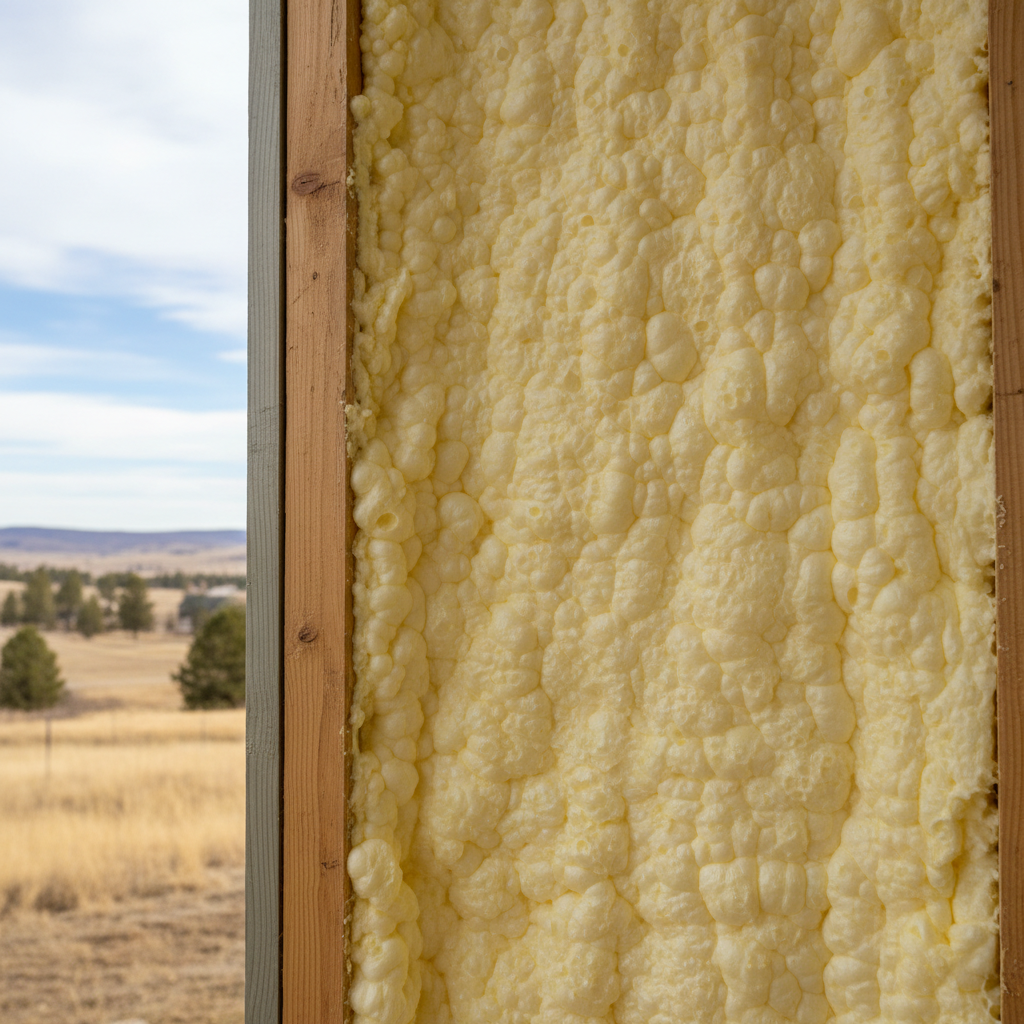
First off, what *is* closed-cell spray foam, anyway? Well, it starts as two liquids that mix right at the tip of a spray gun. Then, it expands like crazy and hardens into this super dense, rigid plastic. The "closed-cell" part means those tiny gas bubbles inside are all sealed off from each other. That's why it's so good at blocking air and moisture, not just heat.
You'll hear folks talk about its R-value, which is basically how well it stops heat from moving through it. Closed-cell usually hits around R-6 to R-7 per inch. That's way higher than fiberglass batts (which are R-3 to R-4) or even open-cell spray foam (R-3.5 to R-4.5). This high R-value means you can get fantastic insulation with less thickness. That's a huge plus in tight spots, like the rim joists in your basement or crawl space.
Now, can you DIY this? Technically, sure, you can buy small two-part kits. But here's my honest opinion: for anything more than a tiny patch or sealing a few small gaps, you're probably better off calling a pro. These kits cost a fortune for the amount of foam you actually get, and they're incredibly finicky. The temperature of the cans, the surface, the air – everything has to be just right. If you mess up the mix, you end up with a gooey mess that never cures properly. Then you've just wasted money and created a bigger problem. Oh, and the safety gear isn't a joke, either. You're dealing with chemicals that can cause real respiratory issues if you're not protected properly.
Think about where you want to use it. Attics? Basements? Crawl spaces? Exterior walls? Closed-cell works great for all of these, especially in damp areas. Take a crawl space, for instance; we often see moisture problems there because of our clay-heavy soils. It even acts as a vapor barrier, which is a massive bonus.
During the Spray Foam Project
If you decide to hire a pro — and I really do recommend it for any decent-sized area — here's what to expect. First, they'll get the area ready. That means cleaning surfaces, making sure they're dry, and covering anything that shouldn't get foam on it. This stuff sticks to *everything*, and it's a nightmare to remove once it hardens.
The crew will show up with specialized gear: a big rig with hoses, pumps, and a heated system to get the chemicals to the right temperature. They'll be wearing full PPE – respirators, hazmat suits, gloves. You won't want to be in the house while they're spraying, or for a good 24 hours afterward. There's an off-gassing period where chemicals get released, and you definitely don't want to breathe that in.
They'll spray it onto the surfaces. You'll see it expand super fast and harden. A good installer knows how to get an even layer and hit every little nook and cranny. They're not just spraying; they're creating a sealed envelope for your home. It's a skill that takes practice, believe me. We've been doing this at Majestic Insulation Company for a while, and I can tell you, there's an art to it.
One thing to keep in mind is electrical. If you're insulating exterior walls with foam, make sure any new wiring or plumbing is done *before* the foam goes in. Once it's sprayed, it's a solid, rigid barrier. Trying to run new lines through it later is a major headache and can totally mess up the seal.
After the Foam is Cured
Once the foam is cured and that off-gassing period is over, you'll notice a difference pretty quickly. Your home will feel tighter, more comfortable, and quieter. Those drafts you used to feel? Poof, gone. Your HVAC system won't have to work as hard, which means lower energy bills. That's the real payoff, isn't it?
Take a look at the work. Check for any gaps or spots they might have missed, though a good contractor won't leave those. The foam should be applied evenly and fully cured. It'll be hard to the touch, almost like a lightweight plastic.
Now, about future renovations. If you ever need to get to what's behind the foam, it's going to be a chore. You'll have to cut it out. So, plan ahead. That's why I always emphasize getting everything squared away before the foam goes in.
Closed-cell spray foam is an investment, no doubt about it. But for the comfort, energy savings, and durability it adds to your Box Elder home, it's often one of the best investments you can make. Just make sure you're doing it right, and if that means bringing in the pros, don't hesitate. It'll save you headaches and money in the long run.